Making music on the go with an iPad or iPhone just keeps getting easier. Here’s a list of music making accessories that make it even easier, while taking the quality of your music to the next level.
Now, this isn’t a list of the best, most expensive gear money can buy, but rather a list of products that are really the best bang-for-your-buck while still getting you to a level I’d consider professional. Some gear items are worth spending a little extra for, while others aren’t. For some items, there are more expensive options out there, but they were left off this list because the entire point of making music on iOS is portability, and, for the most part, the best that money can buy ends up being big and bulky, completely defeating the purpose.
Think of this as the list of items that allow you to create completely professional recordings on your iOS device, for relatively little out-of-pocket.
1. Headphones: Audio-Technica ATH-M50

This pair of headphones offers no compromise of quality, while still remaining relatively affordable. Sure, you could spend hundreds more if you wanted, but it wouldn’t be worth it, and in some cases would sound worse. The ATH-M50 really let you hear into the mix while having full bass and sounding pleasing at every frequency, and at the same time cutting out almost all background noise thanks to their comfy ear surrounds. I’ve owned or heard all the studio standards: the Grados, the Sony MDR-7506’s, the Beyerdynamic DT-770, the AKG 240 & 701, the Sennheiser HD-280, and more. Trust me, these Audio Technicas are your best bet.
2. Lightning to USB Camera Adapter

This is a must. Of course you can connect your camera to it (duh), but that’s not what you’re gonna do with it when you’re making music. This little dongle opens up your world to use almost any USB MIDI controller you want, so if you have a controller already, it’s a no-brainer. You can also use almost any class-compliant USB Audio interface as well. A good hint is that if you can connect it to your computer without needing to install any drivers, you can probably use it with the Lightning to USB Camera Adapter to connect to iOS. Some devices will flat-out not work, and for others you may need to go thru a powered hub if you’re not getting enough power from your iOS device.
For non-Lightning devices, there is the Camera Connection Kit, which is the same thing with a 30-pin adapter.
3. MIDI Controller: M-Audio Keystation 49
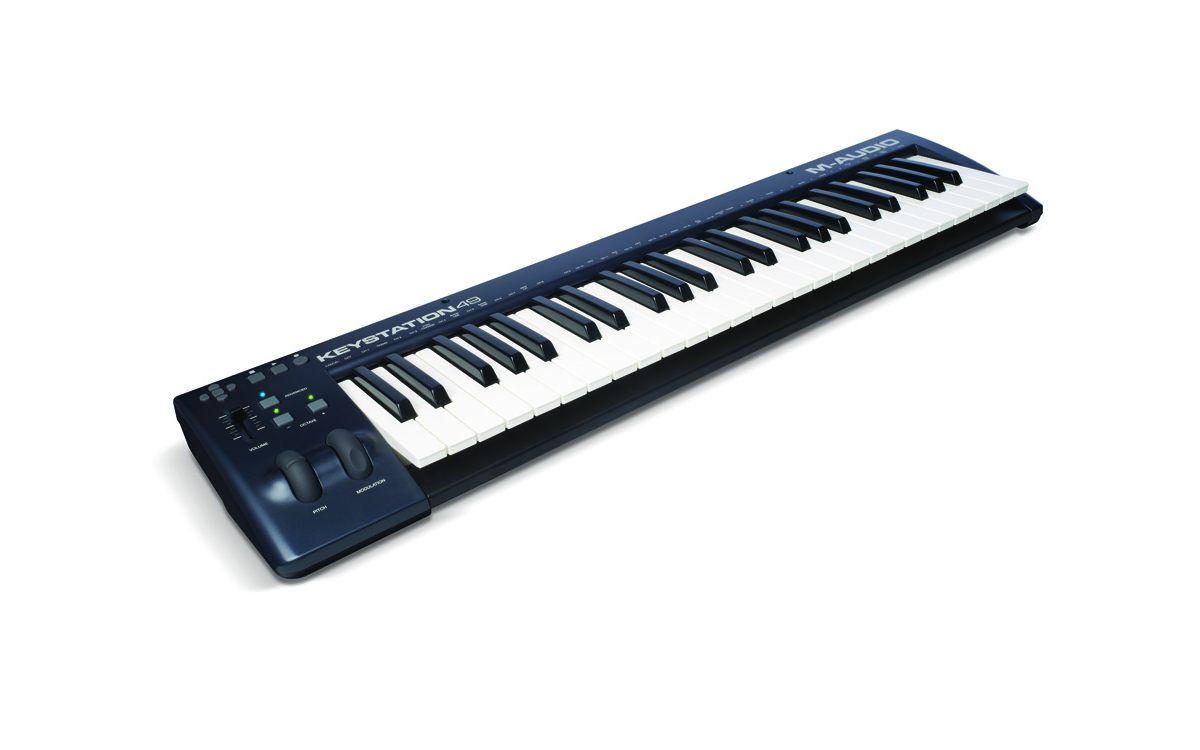
This may not be an obvious choice for the following obvious questions, but hear me out.
What? No lightning connector? No. You’ve got a Lightning to USB Camera Adapter for that, right? Well, go get one. You’ll want it anyway. See #2 above for why. Some audio interfaces have two ports, one for your device, and another USB port for a midi controller or other external device. You’re going to need to connect via USB anyway if you want to use an interface at the same time.
Why such a big MIDI controller? Because you’ve already got a small, portable one right on the screen of your iOS device in whatever app you’re using. Any musical instrument app is going to have a keyboard to play sounds from. Sure, there are a couple of valid exceptions why a smaller controller would be a great idea, like if you’re on a smaller device like an iPad Mini or iPhone, but on iPad, a smaller midi controller would just be redundant and there’s no use lugging around essentially two separate midi controllers. In addition, you really can’t play with both hands well on smaller midi controllers and they don’t have big enough keys to give you very good playability. The Keystation 49 has plenty of great-feeling keys, plus it’s fairly cheap. No, it’s not weighted, but I thought we were trying to keep things portable! If that’s the case, would you want to lug around a weighted keyboard? Nope!
What? No knobs? No. Your apps have knobs built-in, plus, let’s be honest: if you did have knobs, most of the time they won’t be mapped to anything and that just gives you more to lug around that you won’t use.
4. Speakers: JBL LSR305

If you’re interested in music production on an iOS device, space is likely of concern to you, so if you’re looking at some quality studio monitors, they can’t be too big. Enter the JBL LSR305. I really don’t know how they do it at this size or price point. They must have some wizards working over there at JBL because these truly are magical when you consider the price. You could pay more for Genelec or Focal, but you wouldn’t be getting any more value. These offer hands-down the most transparent, flattest, most dynamic, and best stereo image out of anything remotely close to their price range, all while sounding smooth and clean at every frequency. They go down to 43 Hz on the low end so they should satisfy those looking to feel the bass frequencies as well as hear them. If you really need rumble, you should purchase a sub, but these are great without, and your neighbors will probably still complain. The only imaginable downside is if you really need to make ears bleed while you’re working, but their max SPL of 108 Db should be plenty loud in most circumstances.
5. Audio Interface: Apogee Duet for iOS and Mac
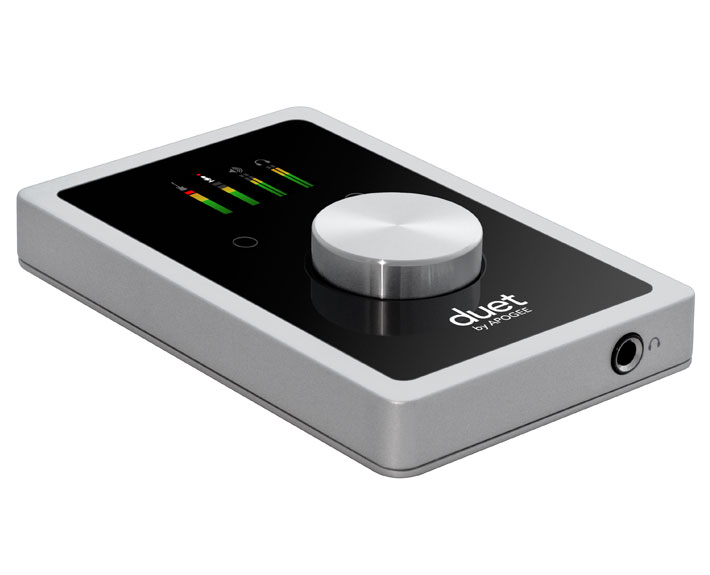
The most important reason: quality. The second most important reason: having a free USB port. I know it’s a little on the expensive side, but investing in an interface isn’t just about plugging something in: there are cheap adapters for that if you are only wanting to add an input. Purchasing an interface is about improving your sound quality both in and out of your iOS device, and you can’t really get to a truly professional level without spending a little cash. This is a choice that was hard, but one that I truly feel is the right choice if you’re looking for a professional option. Right now I’m not aware of anything out there that sounds quite good enough to rely on for professional work.
6. Microphone: Shure SM7B
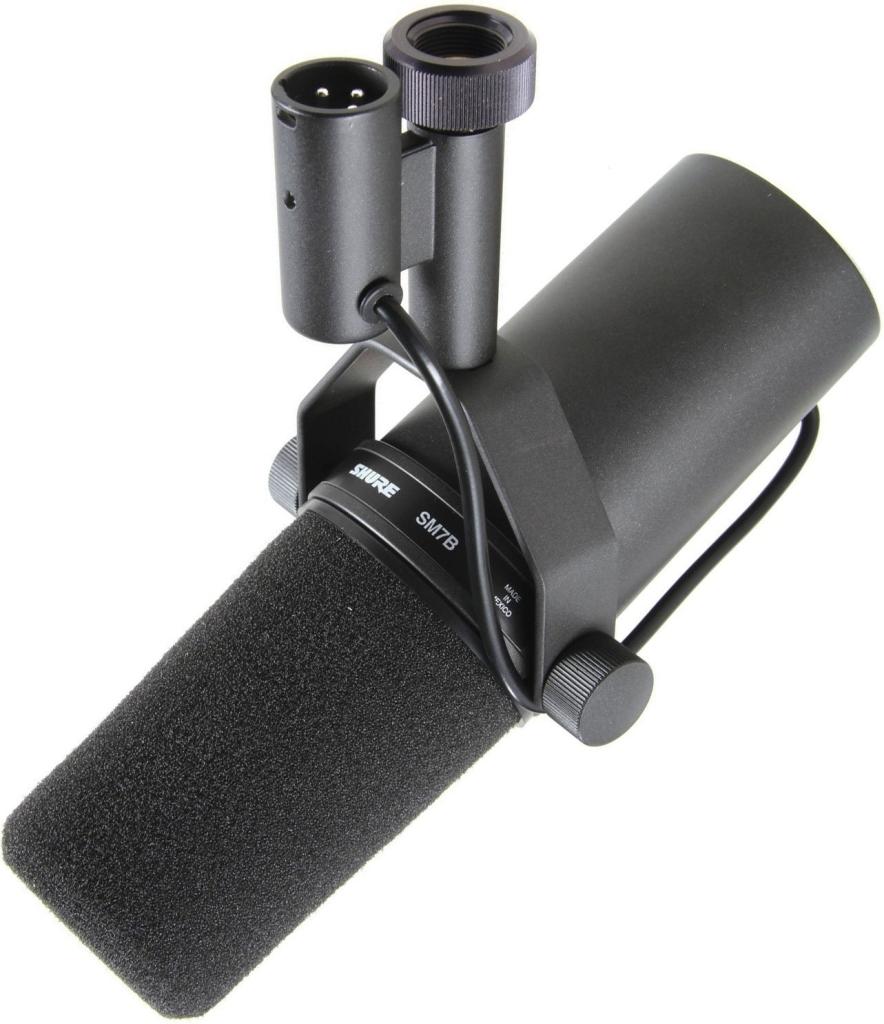
Yes, the SM7B is more expensive than most budget microphones but it gets you to the completely professional level faster than any other mic at the price point. It’s far superior to every single vocal mic under $500 and even beats out $3000+ Neumann’s on many sources. You’ve already heard and love it on many recordings. Michael Jackson recorded the vocals for his Thriller album on this mic.
What about the SM57? Well, you should already have one! Can you still make great recordings with the SM57? Of course. Keep it, and get the SM7B as well. Its smooth and full sound will be a nice compliment.
7. Smart Case/Cover

Protect your device. If you want it to stay around for you to keep making music, buy a smart case / cover for it so that it’s protected from the elements. I find the ones that Apple makes to be the most form-fitting, but if you live an extreme life, you may want a thicker and more durable option from the likes of OtterBox or Lifeproof. Just keep in mind that accessories may become difficult to plug in if your port is blocked by a waterproof flap or seal.
8. Bag: FUL [almost any model] Backpack
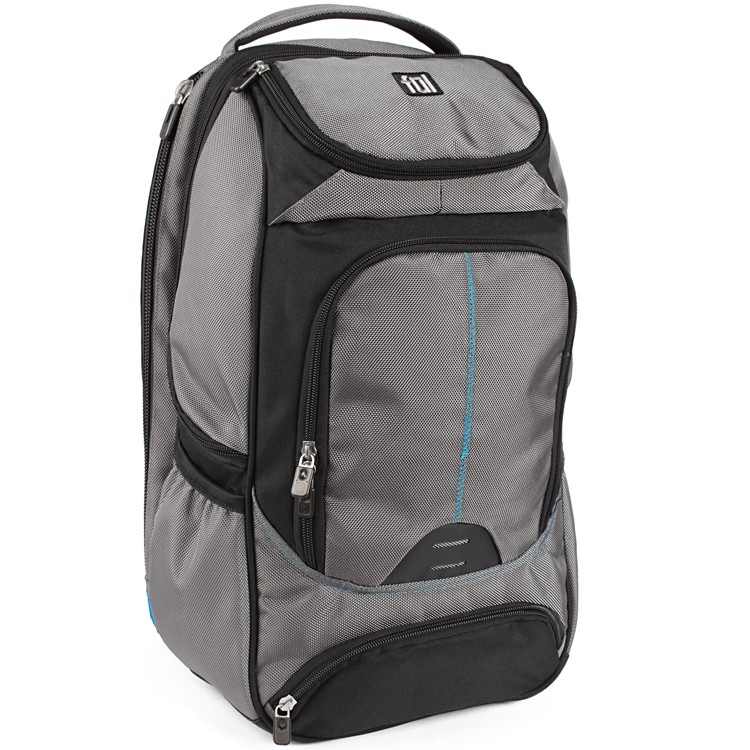
You’ve got to carry all this gear—or most of it—somehow, right? You need a bag. It should look good, but it doesn’t need to be a fashion statement, and it can’t cost too much if it’s job is just to hold your stuff. Enter FUL. Their bags look great, protect your stuff well, are reasonably-priced, and have pockets aplenty. They hold your laptop too, so you don’t need to buy a separate bag just for that.